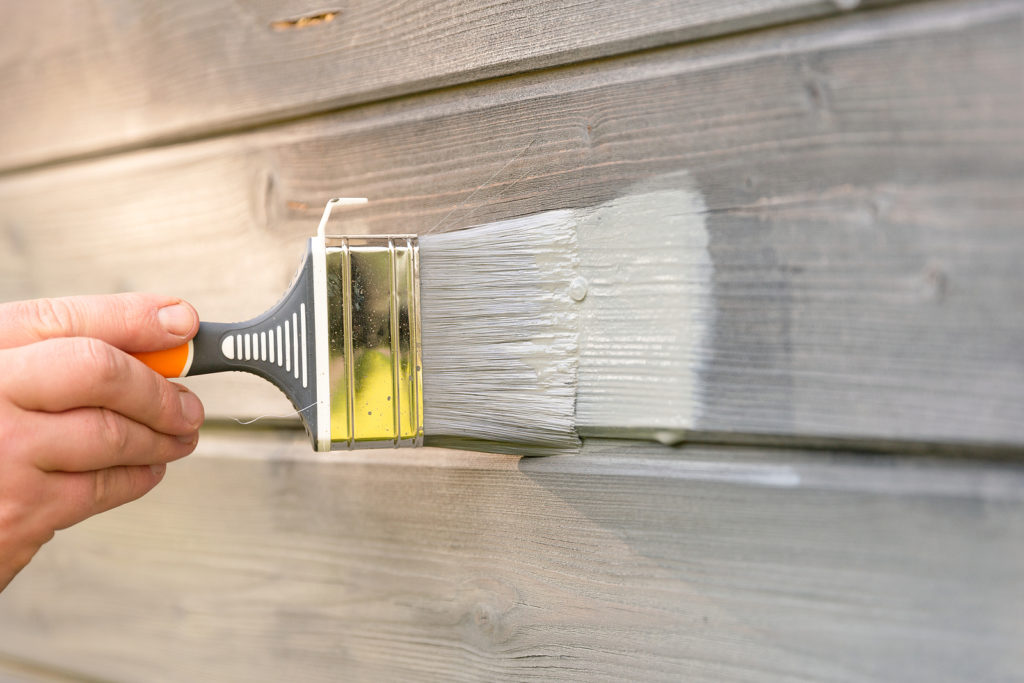
The beauty and durability of an exterior paint job largely depend on how well the exterior wood is prepped. The potential steps involved can be extensive or minimal, depending on the condition of the wood. In some cases, cleaning, light sanding, and priming may complete the work. However, far more may be involved. Details on how to prepare exterior wood for painting follow with step-by-step instructions.
Exterior Wood Preparation for Painting
Steps for how to paint exterior wood trim and siding may include stripping, scraping, reglazing, wire-brushing, filling, and caulking. Avoid paint job failure by completing all necessary steps. Also, please note that wood with a moisture content of over 20% should not be painted. Read on for more on how to prep exterior wood for paint.
New Wood Surface Prep for Painting
If you are painting a new wood surface, be aware that paint and stain adhere much longer to a rough-sawn surface as compared with a planed, smooth surface. Paint adhesion can be a problem if there is a burnished surface referred to as “mill glaze.” To ensure good results, use 80-120 grit sandpaper and lightly sand the surface before painting smooth siding.
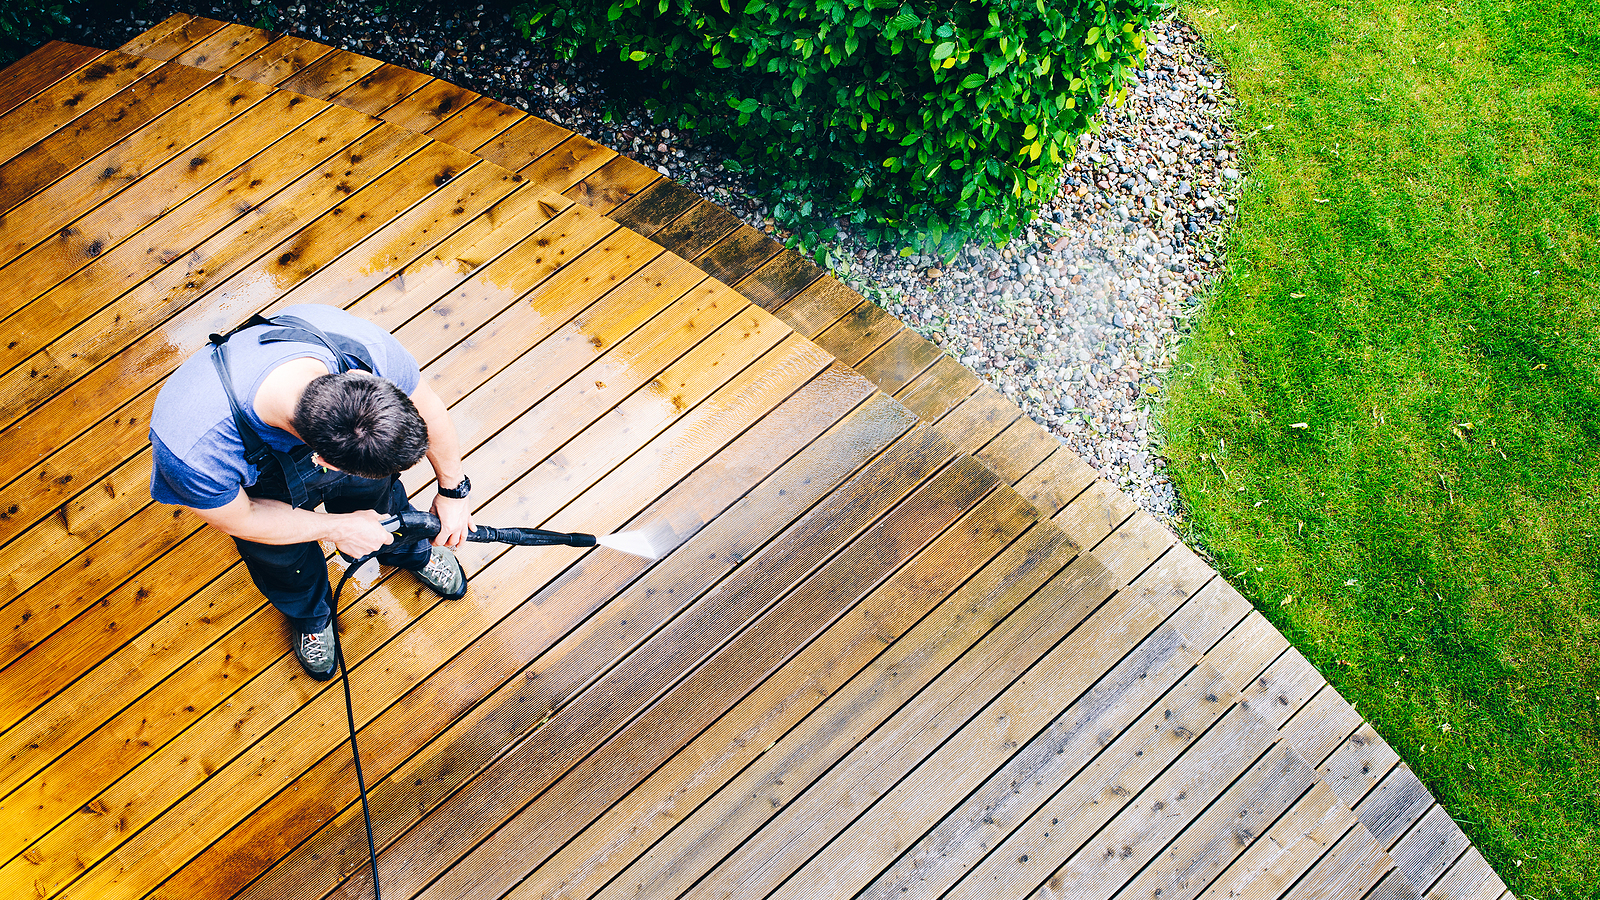
Clean the Wood Surface
Even if you are applying paint of the highest quality available from your retailer (which you should be), the paint job will prematurely fail if it is applied to a dirty, wet, chalky, or degraded substrate. The first priority as you prep exterior wood for paint is to sufficiently clean and dry the surface. A power wash with a solution of detergent and diluted chlorine bleach, or a scrub brush and a solution of detergent such as trisodium phosphate (TSP) can also be used for cleaning.
If after cleaning you rub your finger on the surface and still get some chalky color on it, it’s not ready for painting yet. There are additives you can add to your first coat of paint to help it bind to a (slightly) chalky surface and is an inexpensive insurance policy so your sweat and tears aren’t all for naught. Ask the person at the desk for what they have available. We use Emulsa-Bond for these instances and have had good success. If they try to tell you “it’s self-priming” they’re not lying, but they also don’t understand about binding chalk. Just like when making a cake you’re supposed to grease and flour the pan so the cake won’t stick, look at a fine layer of chalk in the same way. Get an additive and follow the instructions.
Replace Damaged Wood
Evidence of “wet wood rot” is when old wood is weathered, spongy, and moist. Wood has “dry rot” if it is dry and crumbly. Both types of wood need to be cut away and patched, plugged, or replaced in whole sections. Wood sections that are twisted, warped, or extensively cracked should also be replaced. As needed, patch holes, dents, and cracks using wood repairing products that are best for the type of paint or stain you plan to use in the final step of exterior painting.
Scrape or Sand Peeling Paint
Wear safety goggles and a respirator or dust mask for this step. Use a scraper on peeling paint or disc-sand the woodwork with 80-120 grit paper to smooth the edges and scuff the surrounding surfaces to receive the new paint.
Apply Caulk as Needed
Caulking is an important step that keeps water from seeping into vulnerable areas and causing wood rot. Using high-quality acrylic caulk is recommended to seal seams, corner joints, and trim pieces around windows and doors. In addition to protecting the wood, caulk gives architectural details a clean look because it removes shadow lines. What you don’t want to do with caulk, however, is hold water in. Typically, keeping the caulking in good repair where the original builder caulked the wood or siding is the best practice. Take a look around your house for an example of how the builder caulked it to begin with for an example of how to caulk your replaced piece of wood, and keep in mind end grain is the most susceptible to water intrusion as it wicks water and rots in a hurry.
Also know that silicone caulking on wood is not your friend. Paint of any kind will NOT stick to silicone, so be sure to use a high quality acrylic caulking. If you’re tempted to save a few dollars on a less expensive acrylic caulking, don’t to it. The extra money is worth it as less expensive caulks will get brittle more quickly and not expand and contract with the wood or siding.
Clean the Prepped Surface
It is best to do all carpentry before you wash the area for painting, but if you cleaned the area first, after the caulk has dried, remove the sawdust, dirt, and any other remaining debris that could prevent paint from proper adhesion with a leaf blower or a quick rinse. If you cleaned the repaired area with water, be sure to let it dry thoroughly before priming and painting.
Apply Primer
Apply primer as a final step to prep exterior wood for paint. Choose the correct primer for the job by reading the label prior to purchasing it, or asking the person at the paint desk to help ensure a paint job that is durable, smooth, and uniform. The correct primer will improve topcoat adhesion and can help prevent flashing and staining that could seep through the topcoat. Follow the manufacturer’s recommendations for application, drying times, and more. The best practice is to apply primer to all sides and ends of the lumber prior to installation to keep water from getting in the end grain or from behind and rotting it out again. It rotted the first time for a reason, and now is the time to correct it.
If you really want to protect that new lumber, apply a coat of primer and paint prior to installation. It’s called backpriming and backpainting, and is common practice for conscientious builders and contractors, but you’ll never see it done on a tract home. We’ve worked on high end houses with rotted wood that was never even backprimed at minimum, so taking this step is a cut above no matter the size or value of the house. More and more paints are labeled as “self-priming” or “paint plus primer” and it’s not a farce, they really do self-prime! Read the label for the proper method before applying.
Read the Label
Remember to always read the label of any product before using it. It doesn’t take long and a college-educated chemist wrote it for a reason. Most often, failures of coatings are caused by improper use and/or insufficient preparation of the substrate. This is a free insurance policy that ensures you’ll get the best performance possible from the product you just spent your hard-earned money on and most importantly, your precious time!
Contact SNL Painting Inc.
For the best professional exterior painting in St. Louis MO, contact SNL Painting Inc. No one knows better than our experienced professionals how to prepare exterior wood for painting to ensure superior results. Give our friendly experts a call today at (636) 724-6829 to schedule exterior painting and ask any questions you may have.