Among the reasons professional painters do an exceptional job is their in-depth knowledge about why and how to prep a wall for painting. It’s not all about the brush strokes but rather what you do before you pick up the paintbrush that makes the biggest difference in the outcome. If you follow the tips below on how to prep a wall for painting, you greatly increase the potential for satisfactory results.
How to Clean a Wall Before Painting
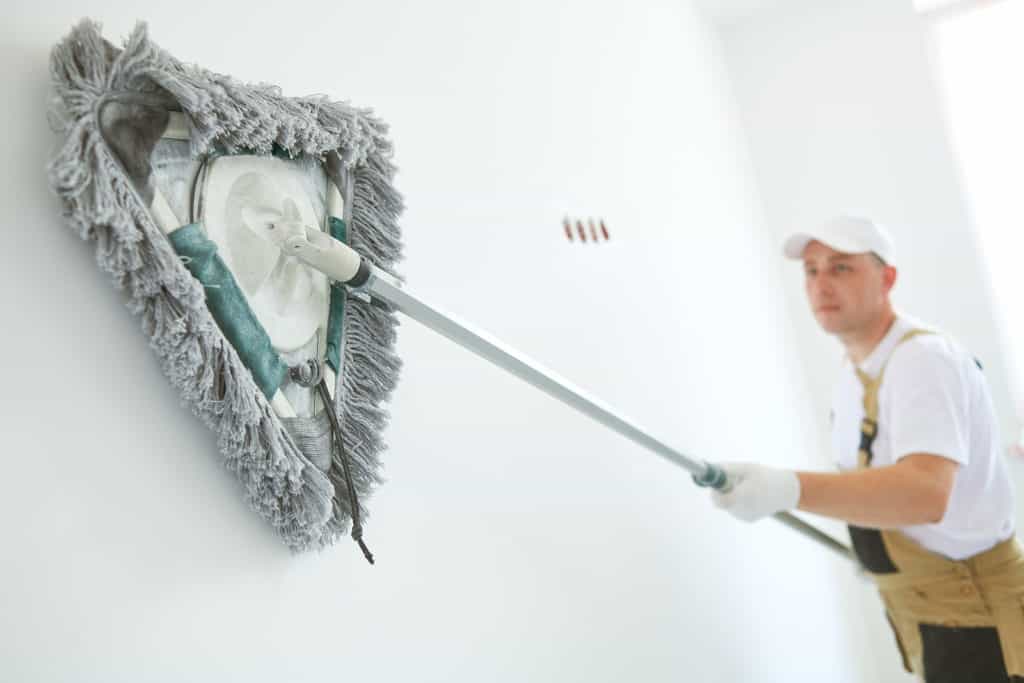
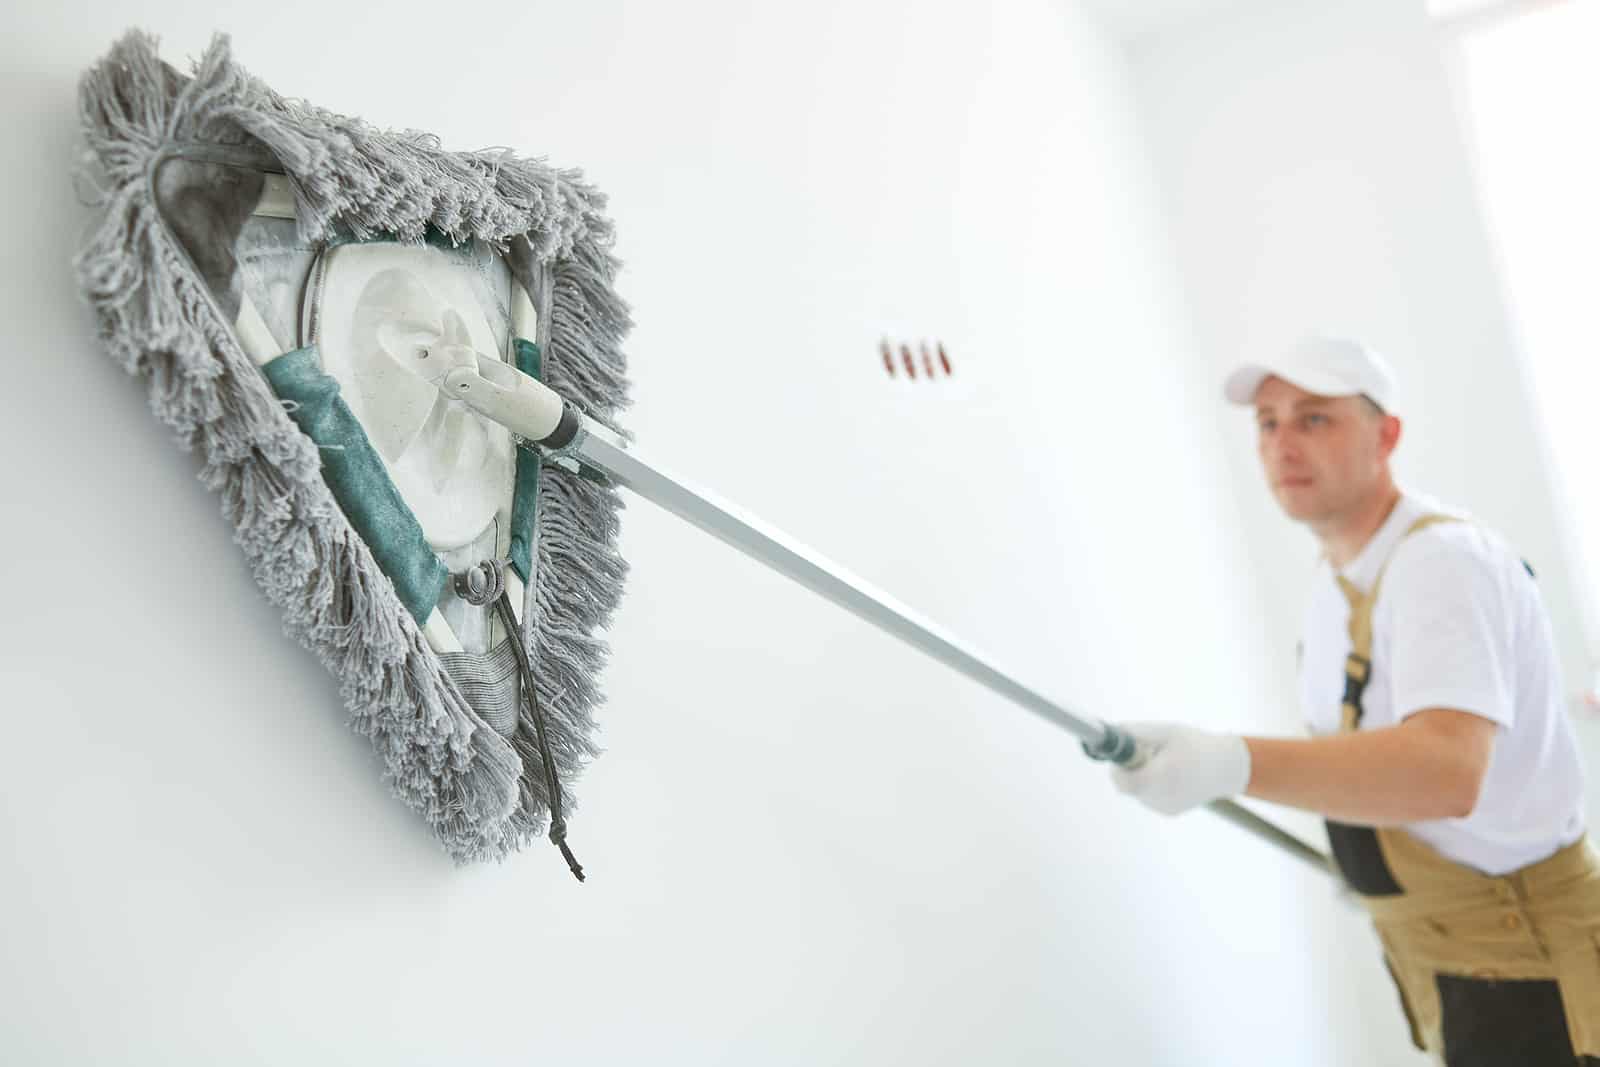
Any paint job will be ruined if the wall surface is dirty. DIY painters are typically aware of this and seek answers on how to clean a wall before painting. Paint can adhere to a wall only if the surface is clean. It may not look like it, but walls are commonly soiled with such things as dirt, dust, grime, grease, the nicotine from tobacco smoke, and residue from candles and fires in fireplaces. Cleaning is essential.
What Kind of Wall Cleaning Solutions are Needed?
There is no single answer to which wall cleaning solutions are appropriate for walls because it depends on the particular wall being painted. However, in most cases, the only supplies needed for cleaning are mild soap, warm water, and a gentle scrubbing sponge. Grease-cutting detergent is typically required in kitchens, where surfaces tend to be oily and greasy. Whichever cleaning solution you use, follow up by wiping the wall down with a clean, damp cloth. Read on to see all the steps for prepping a wall for painting.
How to Prep a Wall for Painting in 6 Steps:
An overview of how to prep your wall for painting is below:
- Clean the wall, referring to the information above on how to clean a wall before painting and what wall cleaning solutions to use.
- Fully sand the wall and, as needed, scrape the wall’s surface. A paint scraper is used for areas where the paint is cracked or flaking. Remove all bumps, drips, and imperfections.
- Patch holes and fill gaps. Apply a thin bead of caulk on any gaps between the wall and molding. With a putty knife, fill holes in the wall. Joint compound is used for drywall and patching compound for plaster. Afterward, sand, smooth, patch, and prime areas, as needed.
- After the sanding and patching is completed, it is important to again wipe down the walls and remove any grit from sanding, etc.
- Apply painters’ tape to protect wall trim and wall sconces.
- Apply high-quality primer to the wall, which serves multiple purposes. Primer helps to hide small imperfections. It also seals the surface of the wall and prevents the paint from being soaked up. Allow the wall to dry completely before painting.
Call SNL Painting Inc. Today
In the St. Louis MO area, SNL Painting provides high-quality interior and exterior painting with a smile. Our teams of professionals not only know how to prep a wall for painting, but they also take care to do the job of wall prep right. We know what it takes to produce top-quality professional results and we do it! For the best interior and exterior residential and commercial painting in and around St. Louis, call SNL Painting Inc. at (636) 724-6829 today.